Front view

Side view

Top view open

Size Comparison with the 1st one

another size comparison with the 1st one

Also another one I had to try also inspired by Dawn at http://dawnsspecialcreations.blogspot.com/2008_08_01_archive.html where she has a beautiful example as well as a link to Jakie Topa's blog who has a tutorial sheet you can print out. ( http://jackietopa.typepad.com/Stationary.pdf ) anyways, this was great fun, I'm not done as I still have more pieces to make to fill it with but I wanted to share what i had for now with you.
front unopened box ( i will place a colored christmas Bealla in the pink panel)

Opened

Close up of front panel, there is a little address book with lined paper to help you keep you christmas card list organized, a small pocket to store your postage stamps in, as well as a pen holder. ( i will decorate a pen to match and include it later)

There is a small tag pocket (left), which has some gift tags (i need to make 2 more for a total of 10, plus stamp "To:" and "From:" on them and tie some ribbon so they are ready to attach to the christmas gifts)
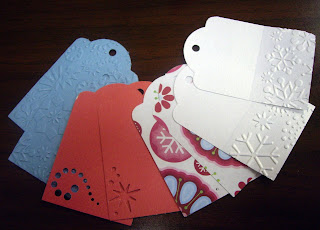
The small pocket to teh right will hold some larger tags/mini note cards with cute images on teh front and room for a note on the back.
the back pocket (largest) will hold a few chrismas cards. so far I have 3 I think I will include a total of 6
Card #1 ( i made a few days ago but just finished it. I added the stamp to the front "peace")
Card #2 I also started the other day but only just got some christmas stamps in order to finis with "Celebrate"
Made just last night, using my new cuttlebug!!! "Warm Holiday Wishes" with grumpabella decked out in her Christmas bath robe and a nice hot cup of coffee/cocoa/tea


anways these were great fun to create and I hope you like them.









1 comment:
These are great projects!! You do some beautiful work.
Post a Comment